Menu

Showing posts with label display. Show all posts

Thursday, October 25, 2012

sneak peek: new trays!

Fellow gypsies!

we thought we would introduce you to each of the new products and spread a little gypsy cheer.
knowing it's been a while since we've had a contest for our most favorite gypsy fans -
we will be giving away a prize with each new product blog post over the next week or so.

new vintage stained trays:
we have been so busy in the workshop creating new surfaces to inspire your
vintage soul and get your creative juices flowing!
we are so excited about our newest trays, they are stained with a beautiful vintage feel.  
two trays are available in this new finish - the solo and the letterblock
we are going to give one of each of these trays away to two lucky winners.

just leave a comment telling us what theme you would choose if you were to win one
of these great trays 
leave your comment by October 26 at 3:00 pm CST and you will be eligible to win one of the trays!

5 fun facts about our trays:
1. each tray is hand stained and finished to create the vintage feel we all love so much!
2. the letterblock tray has 20 assorted compartments
3. solo trays hold a 4x6 photo and has three 2x2 compartments. our solo trays were a huge hit with gypsies all around the globe! so why wouldn't we add this beautiful deep stained wood to the collection? swoooon...
4. the letterblock trays feature a metal handle - perfect for hanging
5. the letterblock tray has inspired many gypsies to create every kind of project, with it's
random size slots - every project becomes unique!
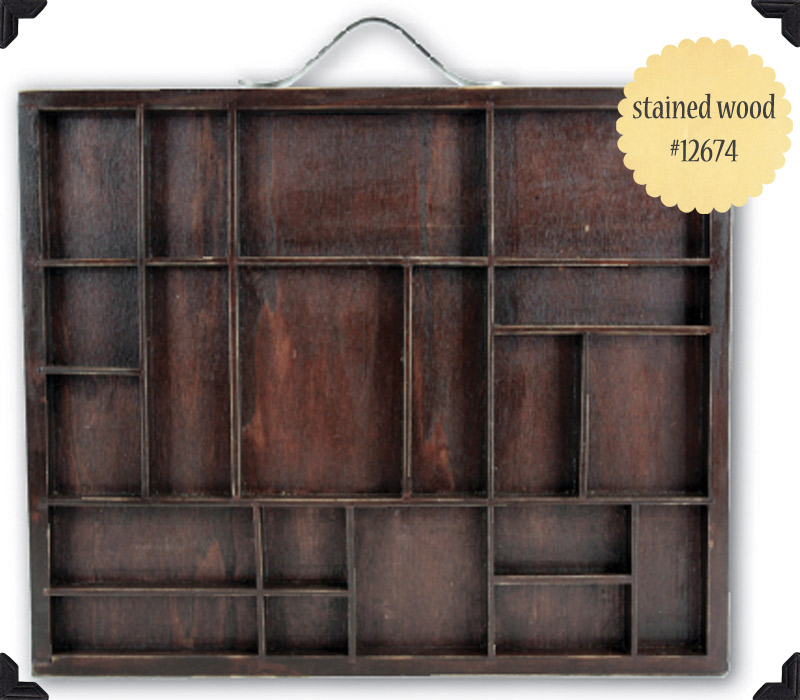


we love the black and brown - but how about this new, rustic stain? we know you want to grab one right now and get creating - but just wait gypsies - there's more new for you to see!

the shop is now open with these great new items, check them out and start working on your projects right away.
stay tuned for more new product releases and more chances to get your hands on some great new 7gypsies goodies.


Wednesday, July 11, 2012

from the studio of: sande krieger

postale book stand
by sande krieger

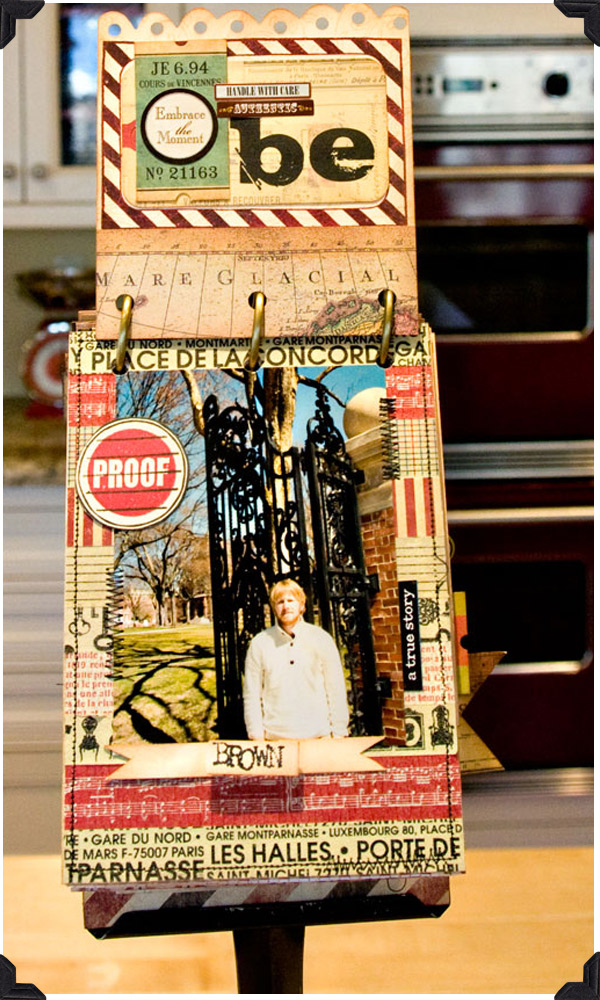
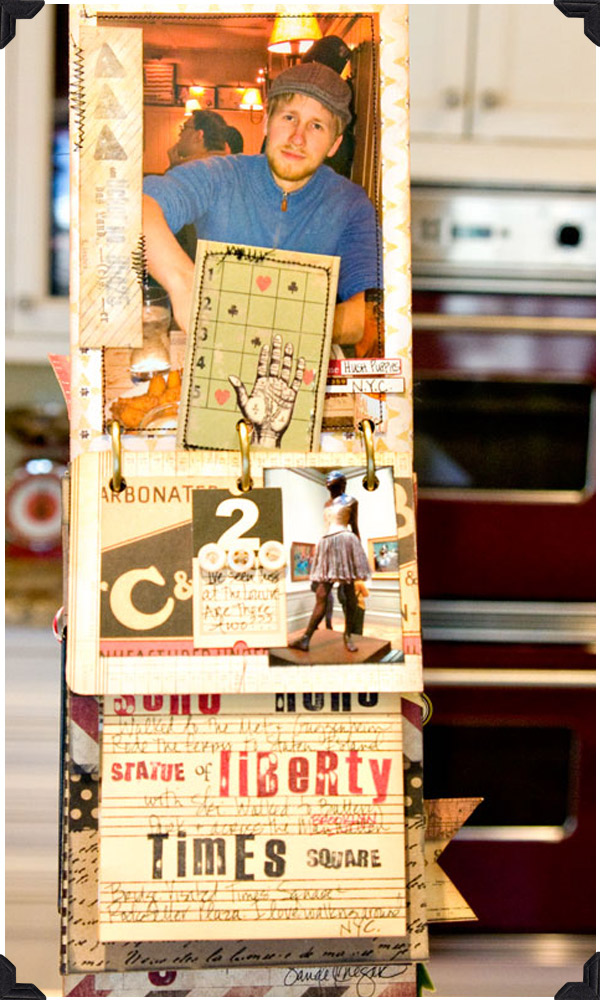
Travel journals are more than just pieces of art. They are taking some of your best memories and dressing them up in finery and putting them on display for all to see. The new 7gypsies book stand is perfect to doing just that. Displaying your memories in a fashionable way. My oldest son and I took a trip back East to look at grad schools. Ten years from now I want to be able to "keep" some of those bonding moments, funny experiences and terrific meals in my memory.

The "keep" title is from an old vintage label maker. The flower is made of cheesecloth.
The pocket is a piece of manilla folder that I stamped with alpha stamps, punch a hole with a 1" circle punch in top and stitched to another piece of manilla folder. Red and black stamped on manilla folder card stock is my favorite color palette. What ever leftover bits of card stock I have I'll stamp images on then use them throughout the book. (like the finger pointing)
Mini paper clips are perfect for attaching layers.
 I printed out several iphone photos that I had taken on the trip with a vintage white frame around them. I love using various sizes of photos throughout a book to add variety. 
The Postale line is perfect for journaling because so many of the papers already have lines on them. I did draw in additional lines whenever I needed more journaling spaces. Layering various size pages adds visual interest too.
Using both the letter stickers from the Postale collection and the rectangular letter stickers from the Postale sticker sheet gave the pages a little variety and was a change from all my handwriting and stamping.
 I also like to add in some dimensional items like the ribbon, pearls and velvet leaf so that the project doesn't look flat. I dug into my stash of older 7Gypsies products because I LOVE them so much. It really goes to show you how the new collection of Postale can work well with all the previous 7gypsies collections.

thanks for sharing your thoughts with us Sande!!!


Book Stand is shipping now!!

Tuesday, May 1, 2012

you can so do this: vicki boutin shadowbox


12x12 shadowbox
by vicki boutin
Layer background papers and add stitching along the bottom.  
Add papers to the 12 x 12 frame

Layer tickets and a book frame inside the shadow box

Add tape to the upper right and lower left corners of the matted paper.

Attach a piece of a ticket and a key wrapped in twine to the upper right corner.
To create the layered heart, spray a number of paper towels with Glimmer Mist, dry and cut into heart shapes.  Also cut various sizes of hearts from the printed Collage Tissue and layer together.  Sew the layers together and add beads

Add the heart to the book cover.  Attach a ruler.

Add crème buttons to the right of the book cover.

To create the cherry blossoms, mist Collage Tissue with red Glimmer Mist and dry.  

Cut the Collage Tissue and pink tissue into blossoms and layer together.
Salvage a tree branch and adhere to the frame.  Glue the blossoms to the branch.
Add corners, scrabble letters and holder

thanks Vicki!!!

Thursday, April 26, 2012

gypsy contest: 8x8 shadowbox and inserts!


Tuesday, April 24, 2012

look what we got: shadowboxes!

we LOVE shadowboxes
we've always had a passion for shadowboxes. 
in the past we've seen gypsies everywhere creating these from scratch with sections made from cardboard or wood - now we have these beautiful wood shadowboxes that are perfect for home decor!

both the 12x12 and 8x8 shadowboxes and the inserts are in stock and shipping now!! 
the 12x12 shadowbox is perfect for adding depth and dimension to a 12x12 layout. 
we love all the layers Vicki Boutin has added to her shadowbox 
our 8x8 shadowbox in a natural wood color is perfect in so many ways. 
you can leave it as is, use our 8x8 papers as a backdrop to build from or paint and distress!

if you've never worked on a shadowbox, but would love to give it a shot, adding one of our inserts is the perfect first step to giving yourself some creative imagination.
Paula Cheney did such a fantastic job displaying her favorite parts of the Trousseau line papers or some words or even a picture. the bottles, beads and block add the dimension desired for her shadowbox creation!


Thursday, February 23, 2012

guest post: Connie Fong!

Library Drawer Turned Shadow Box
- Connie Fong
A couple years ago, I found the posts for Deb and Paula’s Junk Drawer Advent Calendar, and I was hooked!  Deb and Paula are designers for 7gypsies and I’ve been following their blog (http://www.2gypsygirls.com/ever since.  I've been inspired by their many creative ideas.


So fast forward to last month when Deb asked me to create a project for the 7gypsies booth at CHA. I was full of emotions: happy, excited, nervous and scared. How fun it would be to receive a box full of 7gypsies product; but how nervous I was to create a project for them that would live up to their standards.


My assignment was to make a shadow box from the library drawer.  I felt that was doable and allowed me to focus in one area.


I have to share with you how I started the project. I layed out and sorted all the product on my kitchen table. I stared at it all day and then went to bed, not doing anything with the supplies yet, but just allowing the ideas to crystallize in my head.   In the middle of the night the ideas came to me and I got up and sketched this.
The sketch got me going and the next day I put it all together. It’s so much fun to be able to take an item and try to use it in a unique way, such as using the rulers as my dividers. 
Here's some close up shots. One of my favorite items are the apothecary bottles.
I was happy with how it came out and hoped they were, too. (we were SO happy!)


Visit Connie's blog for more fun! http://artfulplay.blogspot.com/